Design Your Own Sortify Game
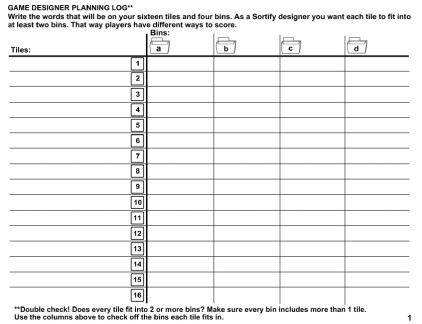
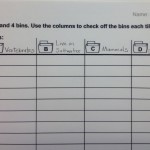
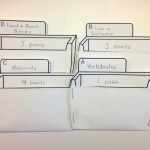
- Step 1: Choose and write your bucket names.
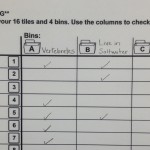
- Steps 2 and 3: Choose and write your tile names, checking off each bin in which the tiles could fit. Check your work!
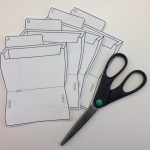
- Step 4: Cut out the buckets on pages 2 and 3 of the log.
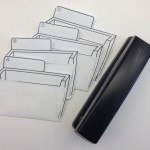
- Steps 5 and 6: Fold the buckets on the lines. Staple or tape the sides.
- Step 7: Label the buckets with their names and the number of points that right answers are worth.
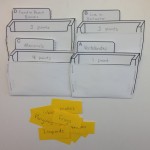
- Steps 8 and 9: Use scrap paper or index cards to create 16 tiles and label them. Number each tile on the back.
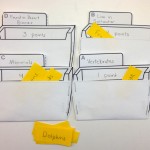
- Step 10: Play the game and start sorting!!
Print copies of the Game Designer Planning Log below and challenge students to design their own paper version of the Sortify game! Here’s how the paper version works.
Materials Needed:
- Game Designer Planning Log (3 pages)
- Index cards or scrap paper for making 16 tiles
- Pencil
- Scissors
- Stapler or tape
Directions:
- Choose and write your bucket names.
- Choose and write your tile names, checking off each bucket in which the tiles could fit.
- Check your work: Does every bucket have at least 1 tile that fits? Does every tile fit into at least 2 buckets so players have different ways to score?
- Cut out the buckets on pages 2 and 3 of the log.
- Fold the buckets on the lines.
- Staple or tape the sides.
- Label the buckets with their names and the number of points that right answers are worth. Harder buckets should be worth more points!
- Use scrap paper or index cards to create 16 tiles and label them.
- Number each tile on the back.
- Play the game and start sorting!!
Helpful Hints
Guide students to think critically about their game design and consider the following tips:
- Change any tiles or buckets that make scoring points too easy or too hard so that people will want to play it over and over. If your game is not challenging enough or frustratingly difficult, people will only want to play it once.
- It’s good game design to make the hardest buckets earn players the most points. If you do that, people playing your game will only get a good score if they’ve really worked hard and earned it!
- Test your game out before letting your friends try it. Pro game designers play their own games many times to make sure they’re fun and accurate.
